Cannot change web part export mode to ‘All’, because custom scripting is disabled for site

Issue

The following error is encountered:

Processing site XX finished with warning: Cannot change web part export mode to ‘All’, because custom scripting is disabled for site: XX. Web part will be skipped (web part ID: XX, page: XX)

Cause

The sharepoint site denies changing the “web part export” mode, which Veeam requires to take a backup.

Resolution

Install the powershell sharepoint module

You only need to set this up once, after that it will be installed for future sessions

  1. Open PowerShell
  2. Install the SharePoint module
    Install-Module -Name Microsoft.Online.SharePoint.PowerShell
    

Remove the DenyAddAndCustomizePages restriction

  1. Connect to ms365 via Powershell by running
    Connect-SPOService -Url "<https://orgname-admin.sharepoint.com>"
    
  2. Once signed in run this command against the site reported in the error
    Set-SPOSite -Identity "<https://orgname.sharepoint.com/sites/sitename>" -DenyAddAndCustomizePages 0
    
  3. Close PowerShell
  4. Run the backup again and confirm the error is cleared

Further troubleshooting

If you see the error

Connect-SPOService: The term 'Connect-SPOService' is not recognized as a name of a cmdlet, function, script file, or executable program.
Check the spelling of the name, or if a path was included, verify that the path is correct and try again.

Then run the older Windows Powershell – the one with the blue icon, not the black icon

Posted in MS365 backup, Uncategorized, Veeam MS365 | Leave a comment

Configure Wireguard on Windows

  1. Download WireGuard installer from this link
  2. Run the installer (called wireguard-installer.exe)
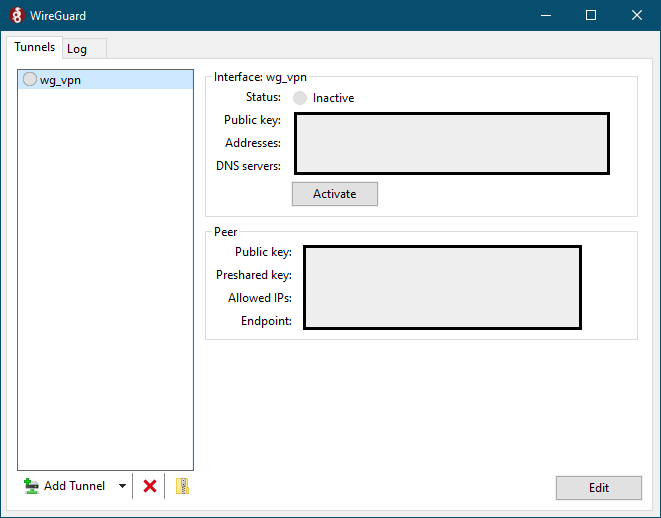
  3. When complete, it will run WireGuard for the first time. You should have a Window that looks like this (below)
  4. Click the arrow next to Add Tunnel and select Add empty tunnel…
  5. Give it a name, clear the box and paste in the VPN configuration sent to you by CyberSecure
  6. Click Save
  7. Click Activate to connect
  8. When finished click Deactivate to disconnect
Posted in Wireguard | Leave a comment

Diagnosing issues with active directory authentication

  1. Ensure all DC and client machines system clocks are correct and synced
  2. Run dcdiag /q on the DCs, ensuring there are no errors
  3. Check the event logs for DFSR and AAD events and ensure there are no errors
Posted in Uncategorized | Tagged | Leave a comment

Configure Wireguard on MacOS

  1. Install wireguard from the App Store
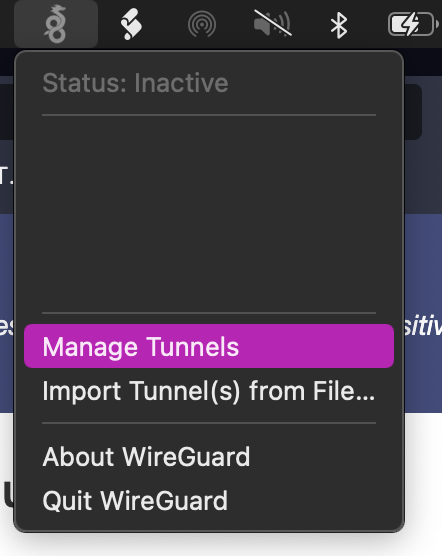
  2. Open wireguard (either by using spotlight search or the top-menubar icon) and choose “Manage Tunnels”
  3. Then click “Add empty tunnel”
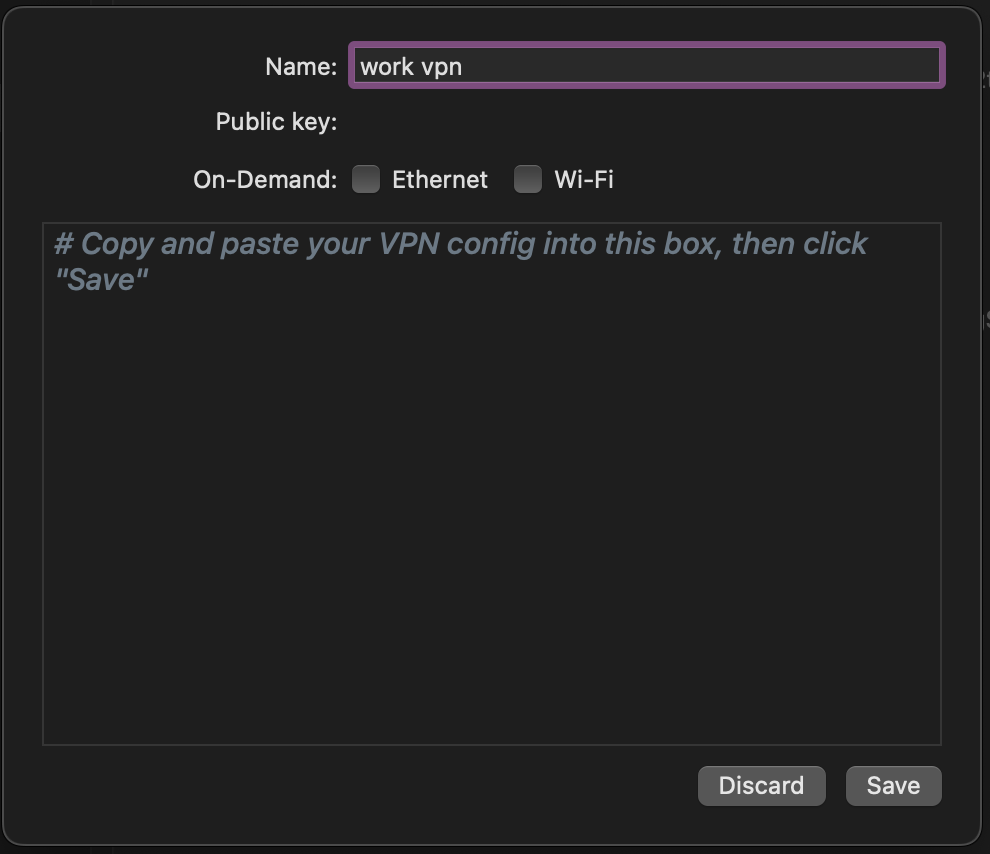
  4. Label the tunnel with something descriptive like “work vpn”
  5. Copy and paste your VPN configuration into the main text box and click “Save”
  6. Test the VPN by activating it and confirming that you can access things
Posted in Wireguard | Leave a comment

Enable wireguard unprivileged GUI access

  1. Login as an administrator user
  2. Create and save the wireguard tunnel configuration
  3. Add your unprivileged user to the “Network Configuration Operators” by opening up explorer right click “My Computer” > “Manage” > “Users/Groups” > Network Configuration Operators
  4. Add an entry to the registry:
    1. Open cmd.exe
    2. Run the following command: reg add HKLM\Software\WireGuard /v LimitedOperatorUI /t REG_DWORD /d 1 /f
  5. Logout and back in as the regular user
  6. You should be able to access the wireguard interface as an unprivileged user now
Posted in Wireguard | Leave a comment

SPX Bare Metal Restore Video Guide

This is a simple video guide to help you perform a bare metal restore from SPX. This assumes the most common case, restoring to the original hardware and disks. If restoring to different hardware, or changing the disk layout, please contact CyberSecure support.

Click here to view the video guide

Click here to download the CyberSecure Recovery ISO

Posted in Restore, ShadowProtect BMR | Leave a comment

Restore Veeam Agent backup of Azure VM

Setup Restore Environment in Azure

This is best setup well before a restore is needed so it is ready to be used.

  1. Sign into Azure Portal with account you want to restore in to
  2. Create a new resource group. Then create the following itmes inside that resource group
  3. Create a Virtual Network
    1. Create network with same IP network details as source VM
  4. Create a Network Security Group

Setup Veeam restore environment with Azure Credentials

This part can also be set up ahead of time if you have a VBR server. Otherwise this can be setup on CyberSecure’s infrastructure

  1. Open Veeam Backup & Replication console
  2. Go to Main Menu > Credentials and Passwords > Cloud Credentials
  3. Add… > Microsoft Azure Compute Account
  4. Select a Name and click Next
  5. Select Microsoft Azure, Global and click Next
  6. Select Create a new account and click Next
  7. Go to https://microsoft.com/devicelogin and paste in the generated code
  8. Sign in with Azure account you want to restore in to
  9. Click Next > Finish

Restore the VM into Azure

This assumes the backups are already available from the Veeam Backup & Replication Console

  1. Right click the agent you wish to restore and select Restore to Microsoft Azure…
  2. Select the point in time
  3. Details should be auto populated from previous step, click Next
    1. You might see a message about storage accounts. Just click Yes
  4. Change VM name if required
  5. Change VM details if required
  6. Select and existing or create a new resource group
  7. Assign network and security groups
  8. Next, Next, Finish
  9. Wait for restore to complete
  10. Power on and control machine from Azure Portal and test
Posted in Uncategorized | Leave a comment

Add Exclusion to MS365 retention policy

  1. Log in to https://compliance.microsoft.com with Global Admin account
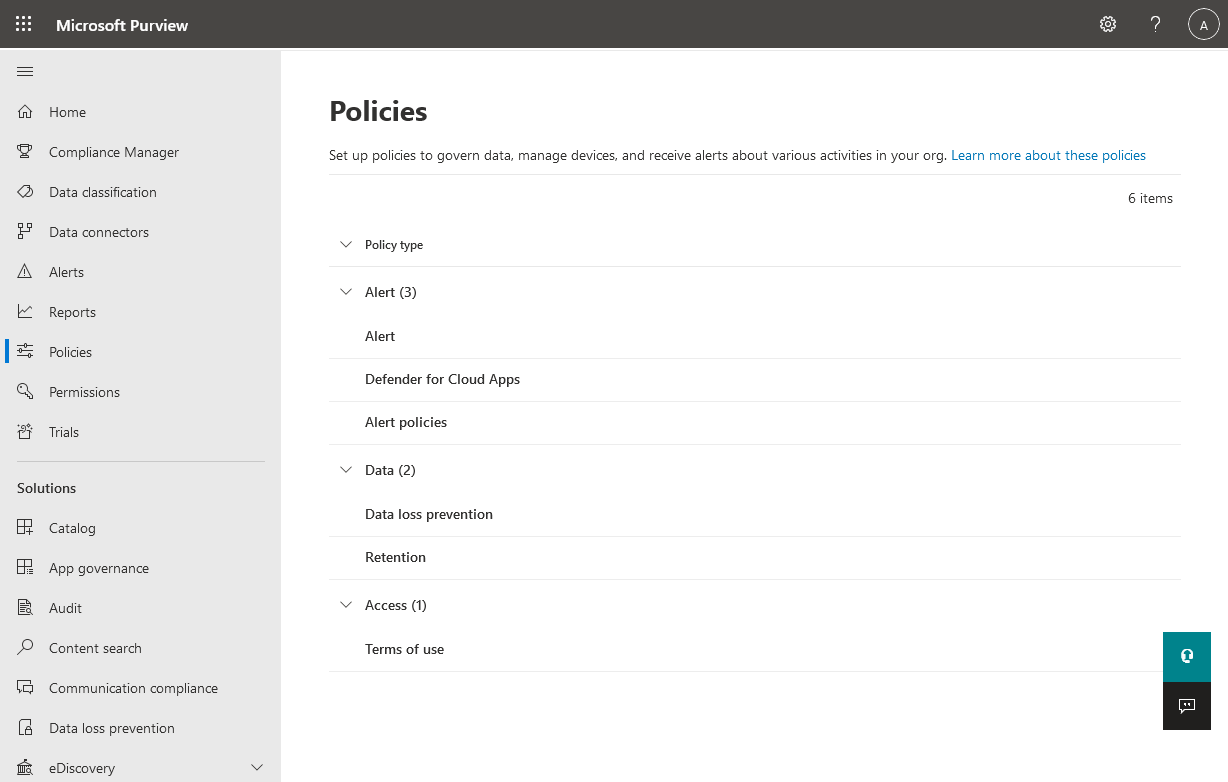
  2. Go to Policies > Data > Retention
  3. Under Retention Policies, either Edit an existing policy or select  New retention policy
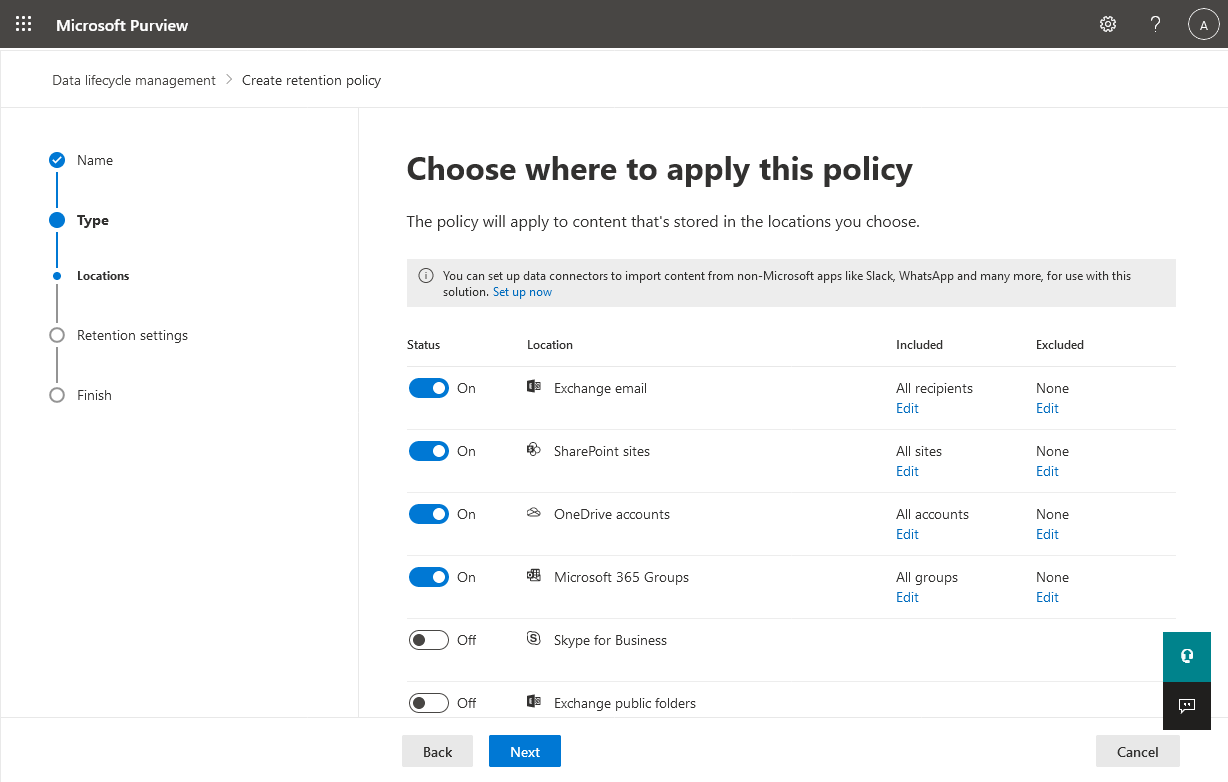
  4. Go through the edit/creation wizard until you get to this page
  5. Click Edit under the Excluded heading for the item type you would like to add an exclusion for
  6. Type in the full email address, site address etc and click Done
  7. Continue through the wizard until complete
Posted in Uncategorized | Leave a comment

Restore files from Veeam Backup & Replication Console

Please see video guide here

Posted in Uncategorized | Leave a comment

Failed to enable DC SafeBoot mode

Problem

You see this error when a Veeam backup runs:

Error: Failed to enable DC SafeBoot mode
Cannot execute [SetIntegerElement] method of [\\[HOSTNAME]\root\wmi:BcdObject.Id="{UUID}",StoreFilePath=""].
COM error: Code: 0xd0000022

Common cause

Most commonly seen with Sentinel One anti malware, but could be caused by other anti malware products as well. The Veeam Agent is modifies the boot record prior performing backup to make sure that restore point is created in Directory Services Restore Mode. Sentinel One is blocking this process.

Solution

Check if the server has Sentinel One Agent installed. If it does, you can disable Safe Boot Protect by running the following command

sentinelctl config -k [passphrase] -p agent.safeBootProtection -v false
Posted in Uncategorized | Leave a comment