We don’t recommend using the file backup server agent to backup Exchange. Instead, use our machine backup service. Contact sales for more information about machine backup.
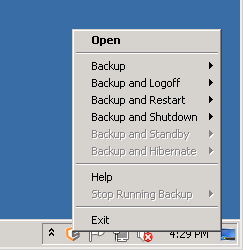
- Open CyberSecure Advanced by right-clicking the system-tray icon and choosing “Open”
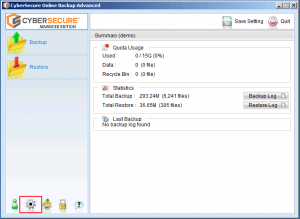
- Open the backup settings from the main console
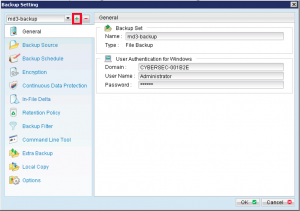
- Click the “plus” sign to add a new backup set
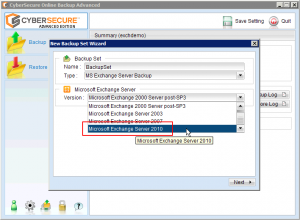
- Type a descriptive label and ensure that the backup set type is set to “MS Exchange Server Backup” and the version is set to “Microsoft Exchange Server 2010”
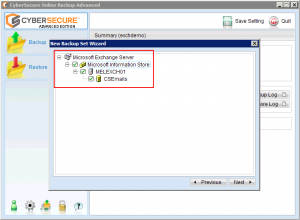
- Next, select the Information Store and databases to protect
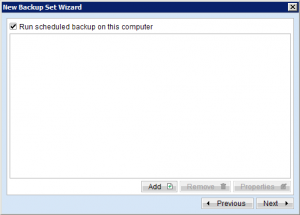
- The schedule screen is next.
- If you are performing data seeding, REMOVE all schedules to turn off the automatic backup to CyberSecure’s servers.
- Circular logging must be disabled on all databases within the backup
- To setup the recommended backup schedule, remove all existing schedules so that the schedule dialog looks like this:
- Now add the backup schedule
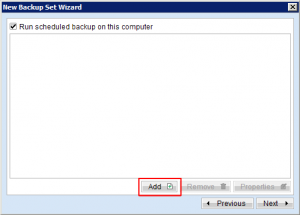
- Click Add
- Now follow the recommended exchange backup schedule settings, according to your environment
- Click Add
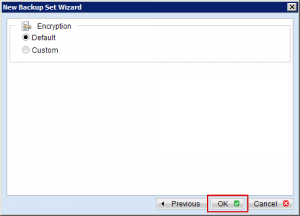
- Our recommendation is to leave the encryption settings at their defaults, which will use your account login password as the encryption password (see all about passwords). Once the encryption password is set the only way to change it is to recreate the backup set.
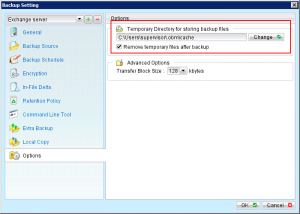
- The final step is to change the location of the temporary spooling folder. This is the “staging” area where Exchange spools out it’s databases before being compressed and encrypted to CyberSecure’s servers.
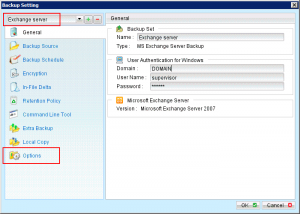
- In settings, make sure the exchange backup set is selected and click “Options”
- This location must have enough free space to hold your selected exchange databases for the duration of the backup.
- Don’t use spaces in the location folder names if possible – paths are always easier without spaces
- If the spooling location is being set to a network location, ALWAYS use UNC pathnames (e.g. \\NAS-DRIVE\backup\Cybersecure-spool) instead of a mapped drive letter. The reason is that windows mapped drives exist only within the session in which they were created, so when the user logs out of the system, the mapped drive will disappear.
- Click “Change”
- Select the location of the spooling folder, we recommend calling it “cybersecure-spool”
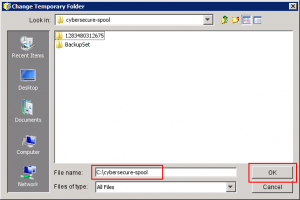
- That’s it – OK out of everything and save settings back at the main screen
